
Last updated November 15, 2026
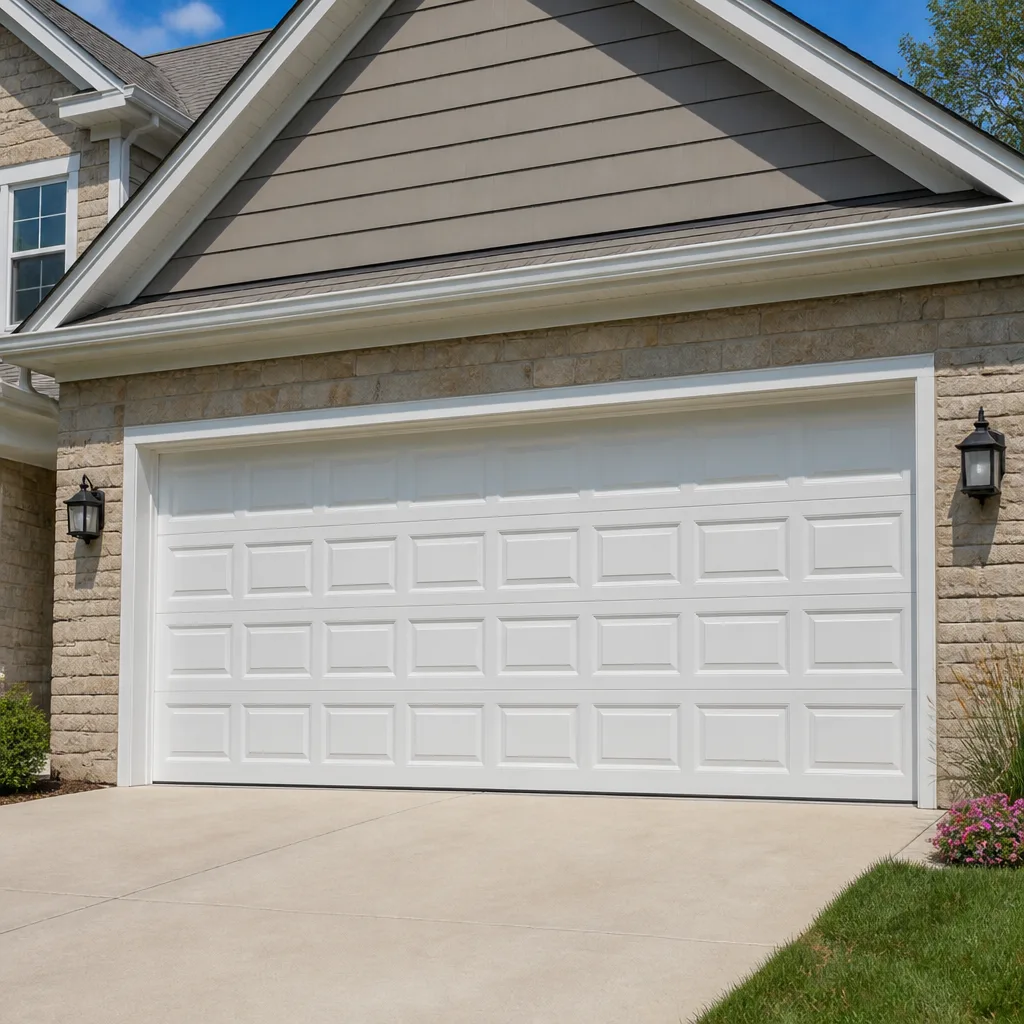 Raised-panel steel
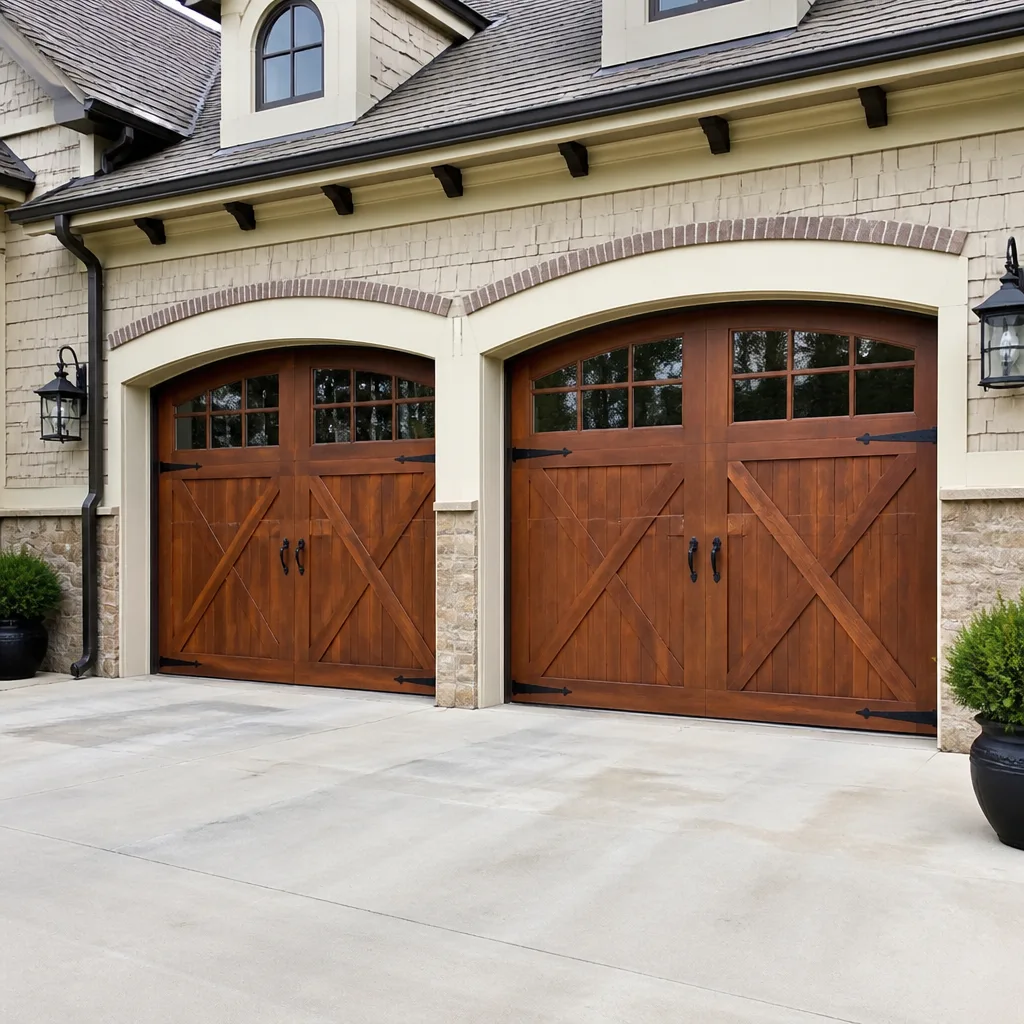 Carriage house
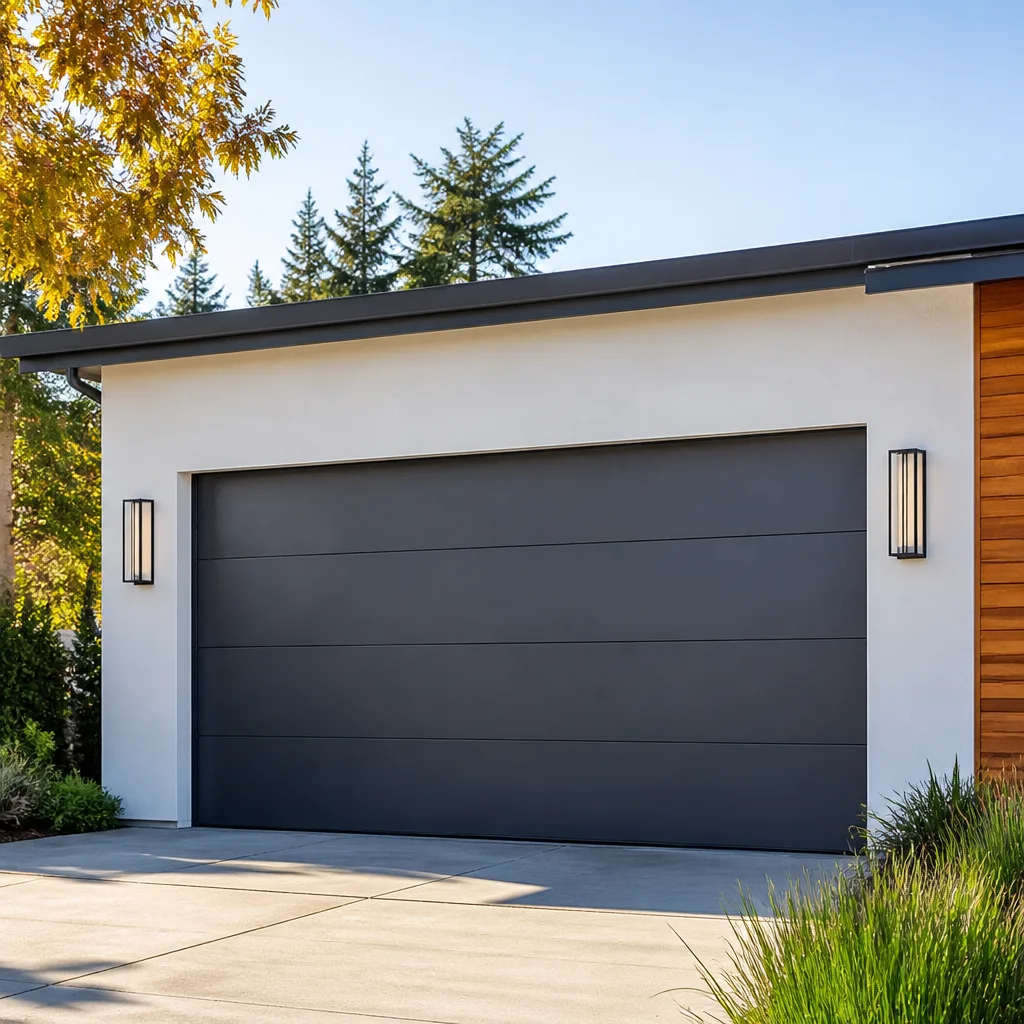 Modern flush
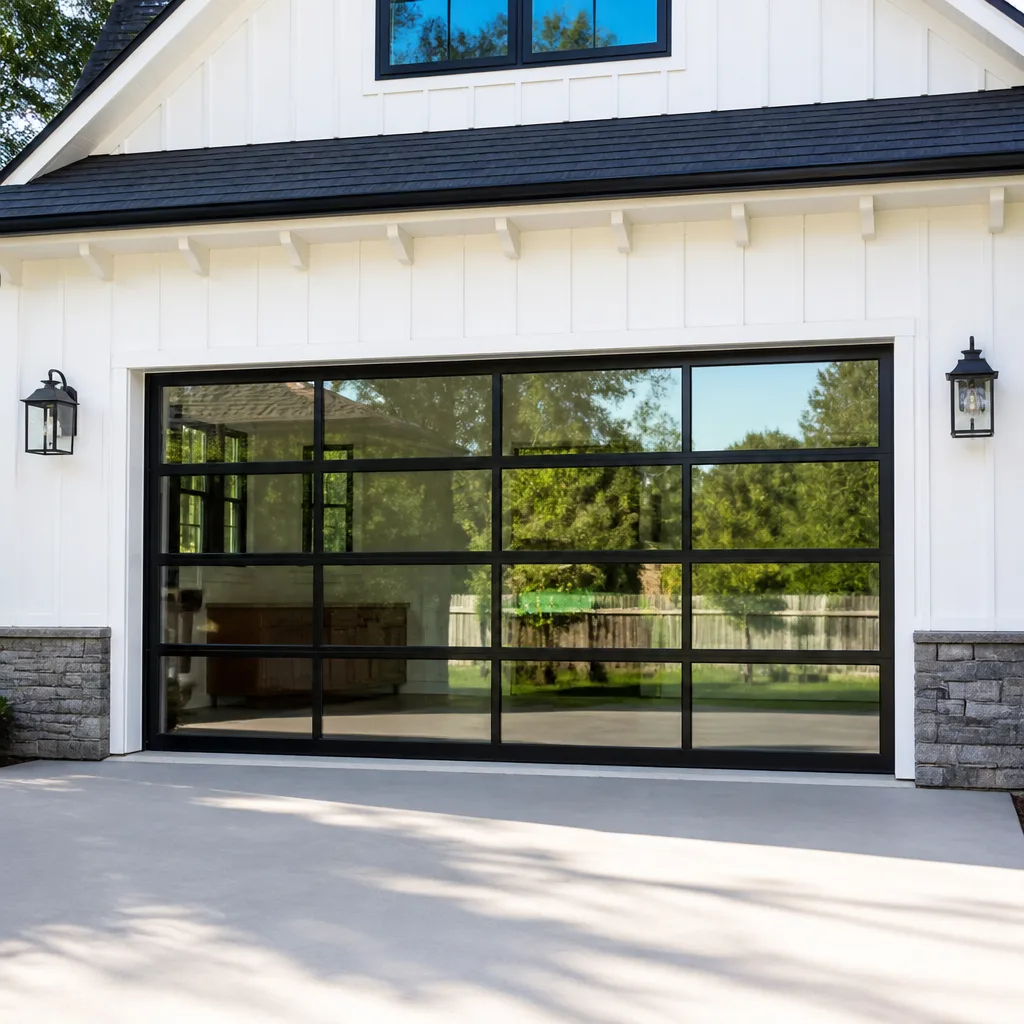 Full-view glass
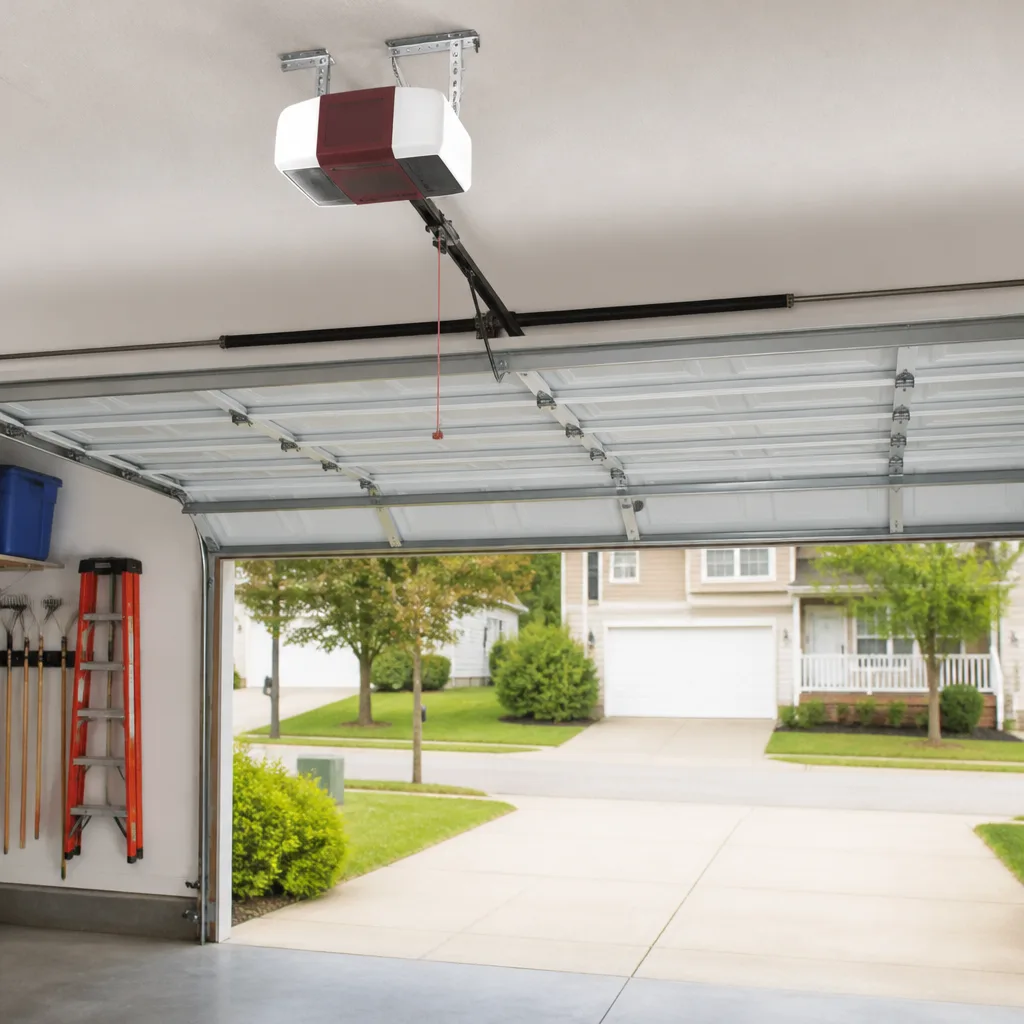 LiftMaster openers
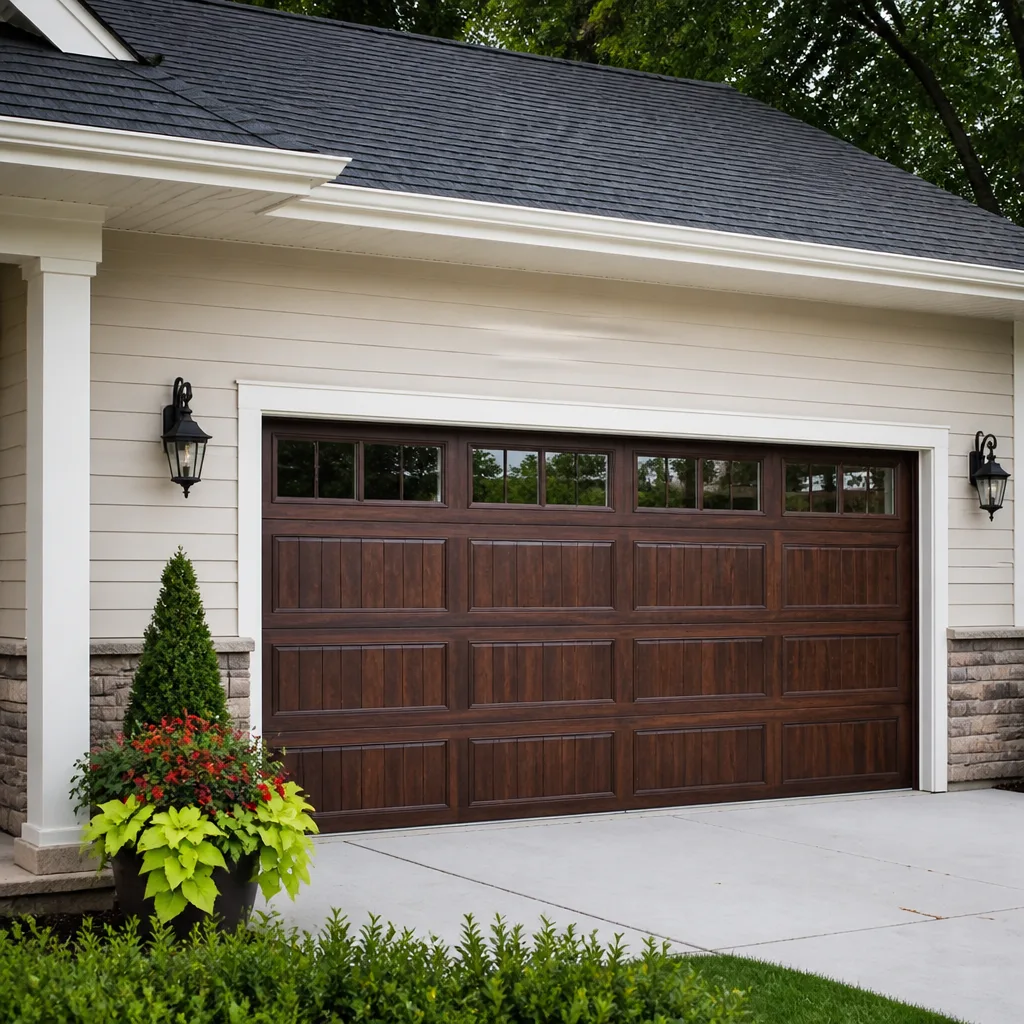 Chamberlain openers
Full 25-point door and opener safety check with every visit - springs, cables, rollers, tracks, and your LiftMaster or Chamberlain opener included
You get a price before we start. It does not change when the pro arrives.
Get your free estimateGarage Door Repair Troubleshooting in Deltona: Common Problems and How to Fix Them
A garage door that reverses before it closes isn’t broken. It’s talking. The safety system is telling you something in the doorway is in the way, or the sensors can’t see each other, or the closer is fighting a door that binds halfway down. The problem is most homeowners don’t know the language. They read “reverses” as “bad sensor” and start twisting the wrong adjustment, which creates a second problem on top of the first. A garage door is one system made of springs, cables, tracks, rollers, hinges, panels and an opener, and the symptom you see almost always points to a cause somewhere else in that chain. This guide is our map of the whole chain for Deltona homeowners. We’ll show you how to read each symptom, which fixes are safe to handle yourself, and which ones you should never touch. You’ll also learn why Florida’s heat and humidity wear certain parts differently than they wear up north.
Quick Answer
Most garage door problems in Deltona come down to one of four things: a tired spring or set of springs, misaligned photo-eye sensors fogged by humidity, a door that’s binding in its tracks, or an opener whose force and limit settings have drifted. You can safely test the sensors, the balance, and the reversal response yourself. You should not touch springs or cables, because they carry enough tension to injure you badly. A trained technician can tell you within minutes whether the problem is door-side or opener-side, and that diagnosis is what keeps you from replacing parts you don’t need.
Styles & brands we work with
- Raised-panel steel
- Carriage house
- Modern flush
- Full-view glass
- LiftMaster openers
- Chamberlain openers
Table of Contents
- The Symptom-to-Cause Decision Tree
- Door-Side vs. Opener-Side: The Misattribution Problem
- How Deltona’s Heat and Humidity Change the Failure Pattern
- Test in Order: Limits, Force, Then Safety Reversal
- What’s Genuinely DIY-Safe (and What Isn’t)
- Reading the Noise: What Your Door Is Telling You
- Springs and Cables: Why This Isn’t a Homeowner Job
- When to Call a Professional
The Symptom-to-Cause Decision Tree
Start here. Before you touch a setting or pick up a tool, match what you see to what it usually means. The chart below is the one we run in our heads on every diagnostic call, and it’s the fastest way to stop guessing.
- Door won’t open at all, opener hums: Usually a stripped gear inside the opener or a stripped trolley carriage. The motor runs but the drive doesn’t engage.
- Door won’t open, opener silent, no light: Power issue, a blown logic board, or a locked-out remote. Check the breaker and the wall switch before assuming the worst.
- Door reverses within an inch or two of the floor: Safety reversal or travel limit. This is the “talking” symptom from the top of the page.
- Door reverses on the way up: Force setting too low, or the door is binding somewhere in the track.
- Door opens partway, then stops: Travel limit switch set wrong, or a spring that’s lost tension.
- Grinding, scraping, or squealing: Rollers, hinges, or track alignment. Metal on metal doesn’t fix itself.
- Loud bang from the garage, door won’t lift: A torsion spring has broken. Do not run the opener.
- Door sits crooked, one side higher: A broken cable or a spring on one side that has failed while the other held.
- Remote works intermittently: Battery, then range (a bad logic board or antenna), then interference from nearby electronics.
Run down this list once and write down what you actually observe, not what you assume. The difference between “won’t close” and “starts to close then reverses” changes the diagnosis entirely, and on a Deltona door the difference is often the starting point for a whole different repair.
Door-Side vs. Opener-Side: The Misattribution Problem
The most expensive mistake we see isn’t a bad repair. It’s a repair aimed at the wrong half of the system. A homeowner calls about a door that won’t close, we arrive, and the opener is in perfect order. The door is binding on a bent track or a seized roller, and the opener is doing exactly what it should: reversing because it’s meeting resistance.
Here’s the rule we use: the opener can only push against what the door lets it push against. If the door balances well, rolls smoothly, and sits square in the opening, an opener rarely fails on its own. If the door is binding, dragging, or out of balance, that opener is being forced to work against friction it wasn’t built to overcome, and it wears out faster. That’s how a door-side problem becomes an opener-side failure if you leave it alone long enough.
Disconnect the opener and test the door by hand. This is the cleanest split you can make in a garage in Deltona:
- Pull the manual release cord (usually red) to disengage the opener carriage.
- Lift the door about halfway. It should move smoothly and stay there.
- Let it down slowly. It should feel about the same weight going down as it did going up.
- If it’s incredibly heavy, incredibly light, or won’t hold position, the problem is the door (springs or cables). If it moves easily by hand but the opener still struggles, the problem is the opener.
That last distinction is why we treat garage door opener repair as its own line of work, separate from the door itself. We need to be able to say “the opener is fine, the door isn’t” without pressure to sell you one or the other.
How Deltona’s Heat and Humidity Change the Failure Pattern
Garage doors in Deltona don’t age the same way they do in colder parts of the country. Our winters are mild, so you don’t get the freeze and thaw that breaks pavement and stresses metal up north. What you do get is heat and humidity that work on different parts of the system.
Springs. Torsion springs are metal under constant tension, and they cycle every time the door moves. Heat doesn’t snap a spring in a single day. It changes how the metal behaves over hundreds of cycles. In a Deltona garage, the heat that builds up under a closed door is real, and springs under that load tend to fatigue on the cycle count rather than in a dramatic cold-weather break. A spring that was fine last summer may start to sag slowly, and you notice it because the door feels heavier or the opener has to work harder.
Photo-eye sensors. This is the Deltona-specific one. The lenses on your safety sensors are small and exposed, and in our humidity they fog and collect a thin film of moisture and dust much faster than in a dry climate. A “door reverses for no reason” complaint is often a sensor that can’t see its partner clearly. Wiping the lenses with a dry cloth is one of the few fixes that’s both safe and genuinely useful. If the alignment is off, straightening the brackets until the indicator lights are steady is also fine to do yourself.
Rollers, hinges, and tracks. Humidity doesn’t attack these the way it attacks steel in a coastal climate, but it does keep lubricant from staying where you put it, and it makes track hardware collect grit. A once-a-year wipe-down of the tracks and a light application of a garage-door-rated lubricant on hinges and rollers makes a real difference in how the door sounds and how long it lasts.
Wood and panel materials. If you have a wood or wood-composite door from one of the major brands, our humidity is the bigger enemy. Paint and seal the edges, not just the face, because that’s where moisture gets in.
Test in Order: Limits, Force, Then Safety Reversal
This is the part where homeowners jump around and end up replacing parts they didn’t need. Force settings, travel limits, and safety reversal are three separate systems, and they interact. Test them in this order and stop as soon as one test fails, because the test above it may have caused the one below it to look broken.
Step 1: Travel limits. With the door closed, run the opener up and down a few times. Does it stop cleanly at the top and bottom, or does it hit the floor too hard or leave a gap? If the door slams or doesn’t reach the floor, adjust the limit settings on the opener housing according to your opener manual. This is safe to do yourself, and every major brand is different: a Chamberlain adjustment isn’t the same as a Genie or a LiftMaster. Use the manual that came with your unit.
Step 2: Force settings. Force is how hard the opener pushes before it gives up. If the door reverses on the way up on a smooth, balanced door, force may be set too low. If it’s set too high, the opener may push through an obstacle instead of reversing. Adjust in small increments and re-test.
Step 3: Safety reversal. With the door closing, place a piece of 2×4 lumber flat on the floor in the door’s path and let the door come down on it. The door should reverse on contact. If it doesn’t, the safety system has failed and you should stop using the door until it’s fixed. This test protects the thing that matters most: a person or a pet in the doorway.
Do them in that sequence and you avoid the classic loop of adjusting force to fix a limit problem and then chasing the new symptom. Our technicians run this same sequence on every garage door repair call, because the sequence carries more diagnostic weight than any single setting. If you get through all three tests and the door still misbehaves, the problem is probably mechanical (springs, cables, rollers, or the logic board) and it’s time to call.
What’s Genuinely DIY-Safe (and What Isn’t)
We’d rather you fix the small stuff yourself than pay someone to do it, and we’d rather you never touch the dangerous stuff. The line isn’t hard to see once you know where it is.
Safe to do yourself:
- Wipe the photo-eye sensor lenses with a dry cloth and confirm the indicator lights are steady.
- Check the sensor alignment by eye and straighten the brackets if they’re pointing away from each other.
- Replace remote batteries and re-pair the remote to the opener.
- Lubricate hinges, rollers, and the torsion bar with a garage-door-rated lubricant (not WD-40, which is a cleaner).
- Adjust the travel limit and force settings on the opener using the manufacturer’s manual.
- Clear anything out of the door’s path and test the reversal with a 2×4.
- Tighten loose bolts on the track brackets (hand-tight, not gorilla-tight).
- Straighten a visibly bent track only if it’s minor and you can do it without forcing it.
Not safe to do yourself:
- Anything involving torsion springs or extension springs. These hold enormous stored energy. Releasing that energy incorrectly can break a bone or worse. If a spring snaps, don’t run the opener, don’t try to lift the door by hand to “see what’s wrong,” and don’t attempt to replace it.
- Cables. Cables run under spring tension and can whip if released. Never touch them.
- Bottom brackets and the torsion bar assembly. Same reason.
- Replacing the opener yourself if you’re not comfortable with electrical work. The wiring isn’t exotic, but 120-volt work isn’t something to learn on.
- Panel replacement on a door that won’t stay up. Panels are lighter than they look and the door can come down on you.
The spring rule is the one to treat as absolute. Springs are sized for the door’s weight and the drum position, and a mismatched replacement doesn’t just fail, it fails dangerously. This is where the specialization argument earns its keep. Our technicians have up to 12 years of experience working on this system and only this system, and they tell you plainly when a repair is a five-minute adjustment versus a spring replacement that requires torque and matched parts.
Reading the Noise: What Your Door Is Telling You
Noise is the most underused diagnostic tool a homeowner has. A door that suddenly sounds different is telling you where the problem is before you can see it. Match the sound:
- Squealing or high-pitched whistling: Dry hinges or rollers. Lubrication first.
- Grinding or metal-on-metal scraping: Rollers that have worn flat, or a track that’s out of line. Don’t ignore this; it wears the door itself.
- Rattling when the door moves: Loose bolts on the track brackets or hinge plates.
- Loud bang from the garage when you hit the button: Almost always a broken torsion spring. Stop and call.
- Clicking or popping from the opener housing: Could be the drive gear, could be the logic board. Get it looked at before the opener stops mid-cycle.
- Rhythmic thumping: A bent panel, a warped roller, or a track that has a slight ding. The door is riding unevenly.
Compare the sound to what you remember from last month. Doors don’t change their sound overnight for no reason, and the shift from “normal” to “slightly off” is the cheapest fix you’ll ever make, because it happens weeks before the failure.
Springs and Cables: Why This Isn’t a Homeowner Job
We get asked every week whether the springs can be replaced by a handy homeowner. The honest answer: they can be, technically, by someone who has done it before and understands the torque involved. The honest follow-up: it isn’t worth the risk for someone who hasn’t. A torsion spring is a coil of steel under enough stored energy to lift a door that weighs three or four hundred pounds. When a spring is wound and you release it incorrectly, the bar can spin with violent force. That’s not a scare tactic. It’s the reason every garage door manufacturer and every safety organization treats spring work as trained-tech territory.
Here’s what you can do around springs safely:
- Look at the spring above the door. If you see a visible gap in the coil, it’s broken.
- Listen for a loud bang and check whether the door will lift with the opener. If it won’t, leave it.
- Note whether the door is crooked or the cables look loose. Don’t touch the cables.
- Call a technician and describe the symptom. The description above is enough for a real diagnosis.
A matched pair of springs is usually replaced together because they’ve cycled together. If one is broken, the other isn’t far behind. That’s the standard approach for a reason, and it’s the honest one. We work on whatever brand is in your driveway, so the diagnosis fits the door you actually own rather than a generic guess. From opener to panel, our job is to fix the part that failed without charging you to replace the parts that didn’t.
See the difference
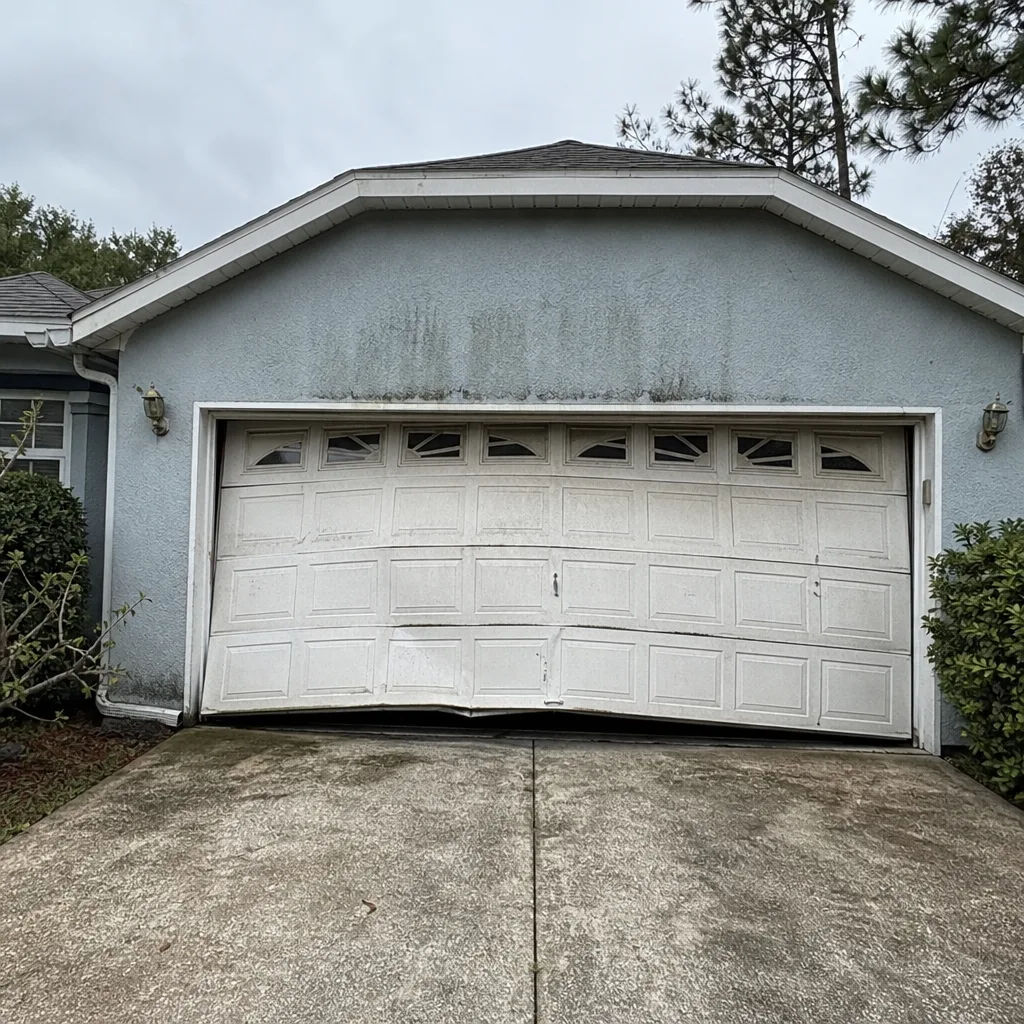 Before
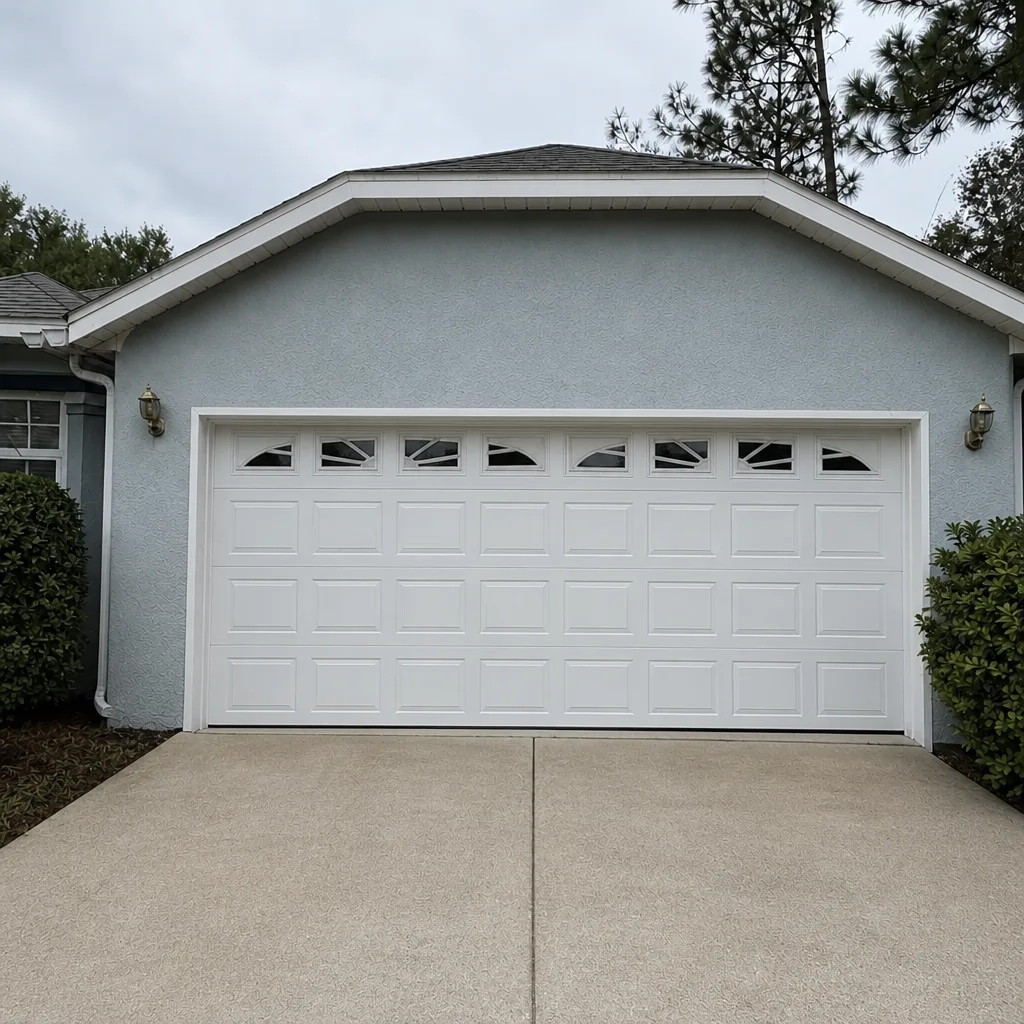 After
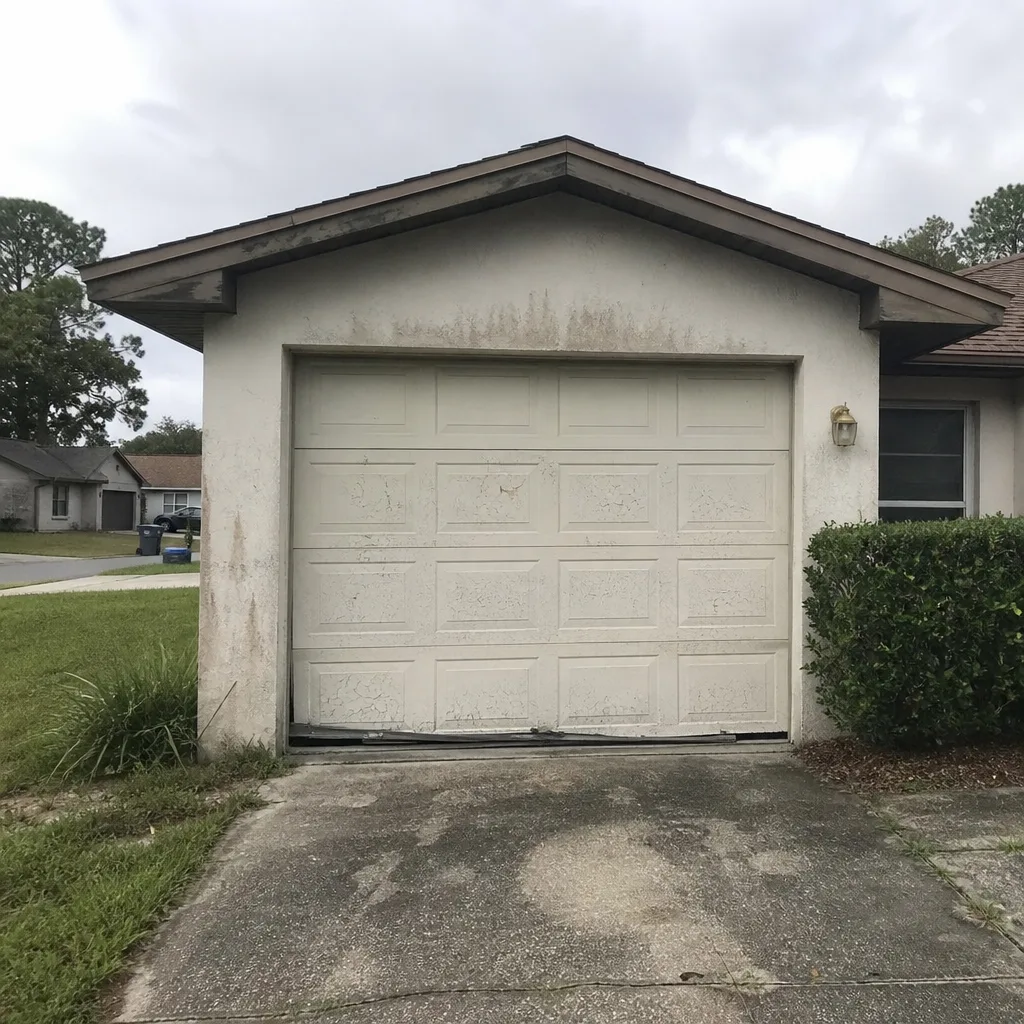 Before
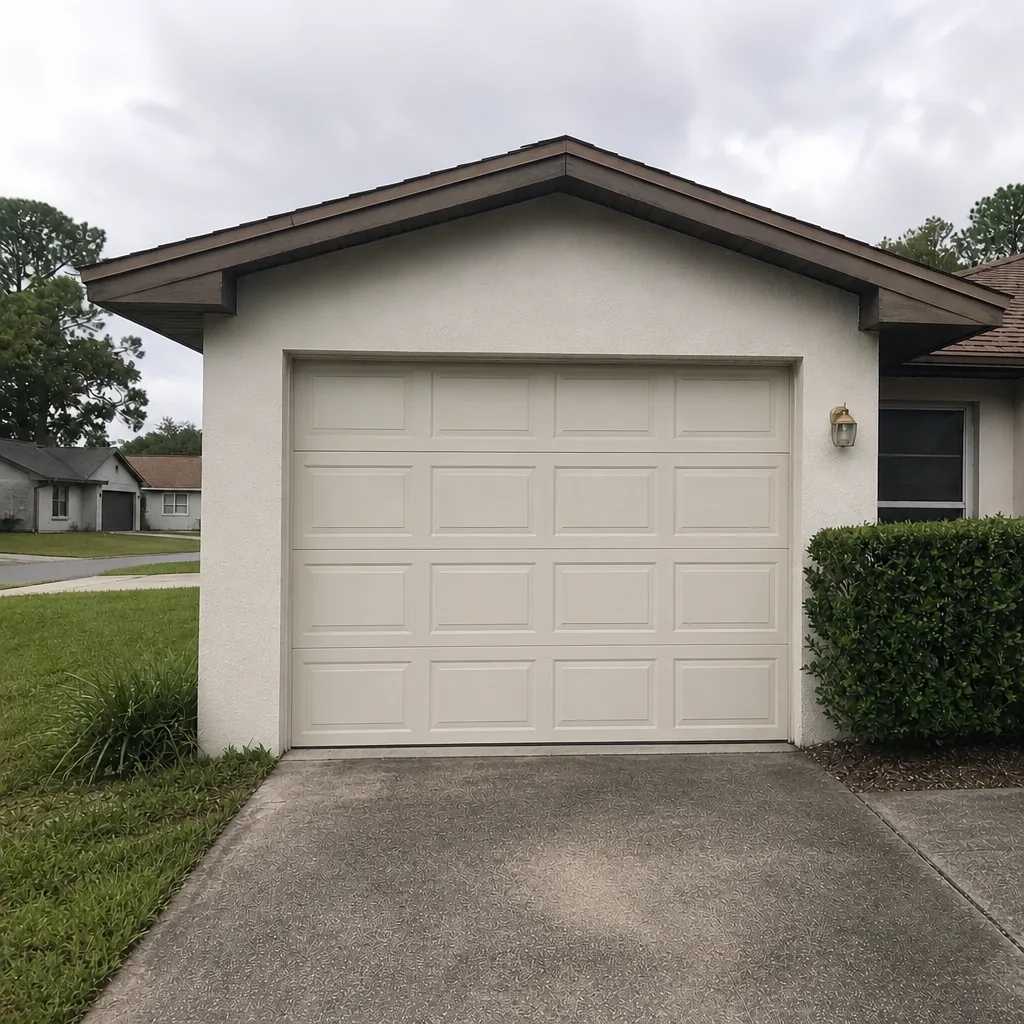 After
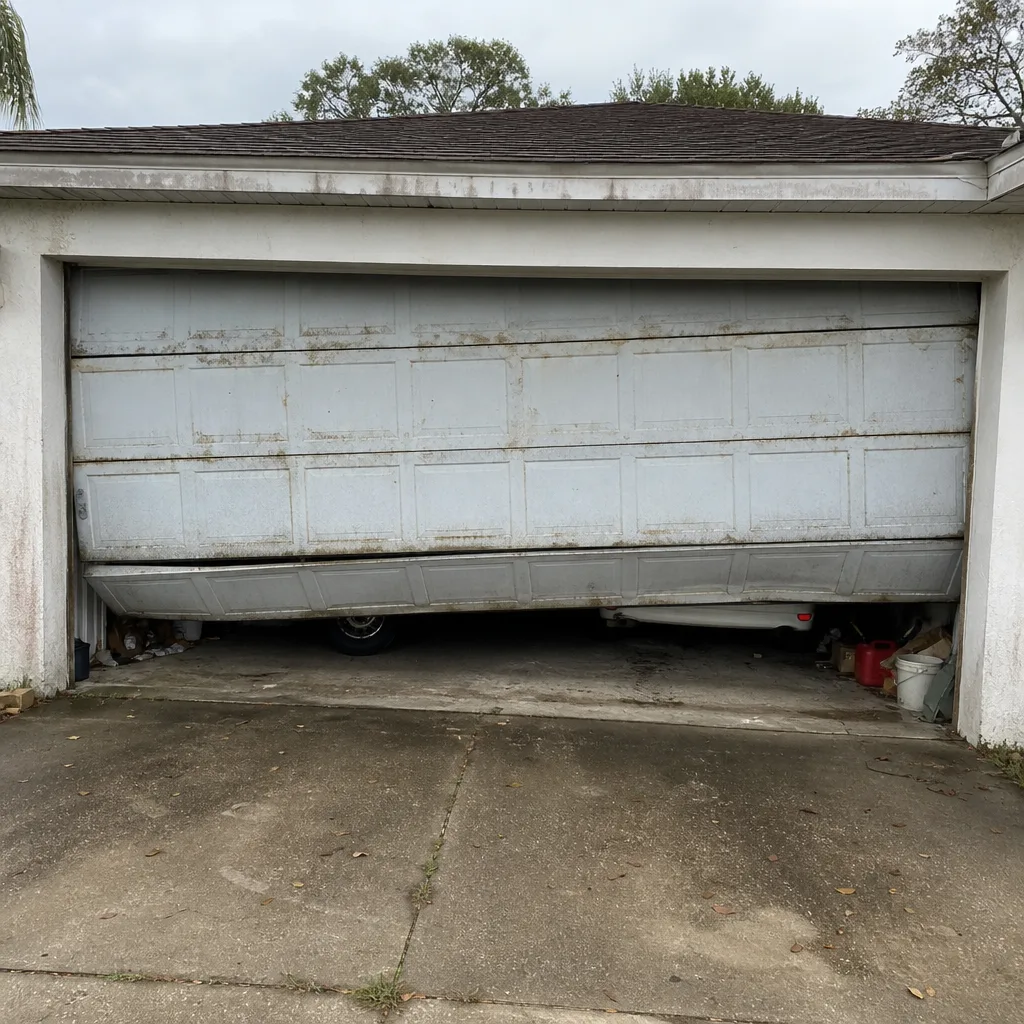 Before
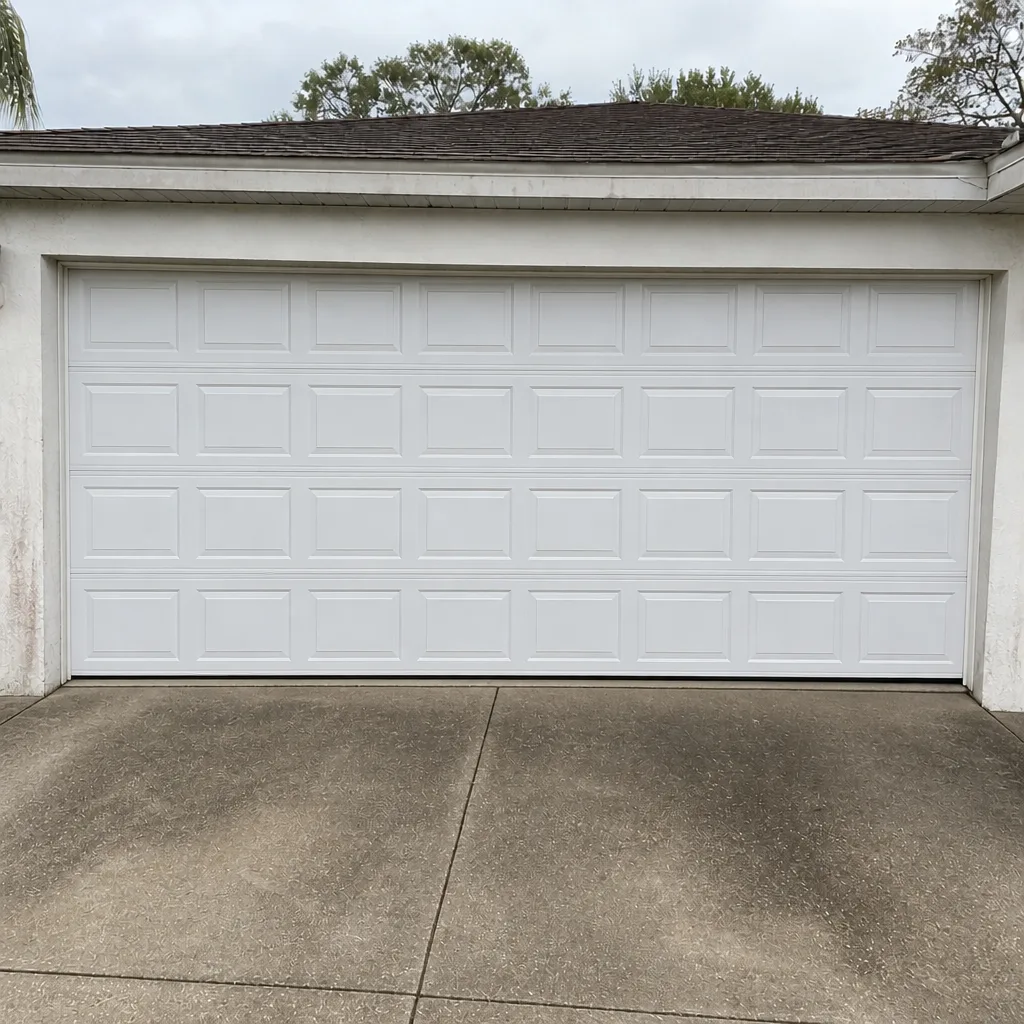 After
Common Mistakes to Avoid
- Bumping up the force setting to “fix” a reversing door. Most of the time the door is binding and the force setting is doing its job. Higher force just wears out the opener and skips the real problem.
- Replacing parts before testing. A new sensor doesn’t fix a door that’s out of balance, and a new opener doesn’t fix a bent track. Test, then replace.
- Using WD-40 as a lubricant. It’s a solvent, not a grease. It cleans the roller and then leaves it dry, which causes the squealing you were trying to fix.
- Ignoring a slow change in sound. In Deltona’s climate, a door that starts squeaking in summer usually got there because humidity pulled the lubricant down and the hardware dried out. That’s a one-hour fix if you catch it, and a heavier repair if you wait.
- Letting the door run on a broken spring. The opener will force the door and bend panels or snap a cable. If you hear the bang, stop.
- Adjusting the limit switch to compensate for a problem elsewhere. If the door isn’t reaching the floor cleanly, the cause could be the travel limit, or a bound track, or a weak spring. Adjusting the limit alone can mask a symptom and leave a real problem.
- Assuming the opener is at fault. We’d rather tell you your opener is fine than sell you a new one, and if that answer surprises you, ask yourself which answer you were expecting and why.
- Assuming the brand you can’t find in the manual is a problem. If your opener is a Craftsman, Raynor, LiftMaster, or Chamberlain (or any of the other major brands), it’s the specific model and setting that matters, not the logo on the housing.
When to Call a Professional
Call a professional if any of these is true. Your door reverses for no reason and sensor cleaning and force adjustments haven’t fixed it. You hear a bang and the door won’t lift. The door sits crooked or one side is higher than the other. A spring looks broken or sagging. The opener fails the reversal test or won’t respond to any remote or wall switch. The door is more than about ten years old and has never had the springs checked. You’re not comfortable with the electrical side of an opener replacement. Or the door has a panel that’s been hit, bent, or dented and you’re not sure whether it’s structural. Ardent Garage Door Repair offers free estimates in Deltona – call (866) 611-8038. We answer 24/7, fast dispatch from 7am to 7pm, and the price is set by the written estimate before any work begins.
Frequently Asked Questions
No one should, not without training. Torsion springs are under enormous stored tension, and releasing that tension incorrectly can break a bone or worse. We know homeowners ask because springs are the cheapest-looking part to buy and the most expensive-looking part to service, but the risk isn’t worth it. If a spring is broken, don’t run the opener and don’t try to lift the door by hand. Call (866) 611-8038 for a free estimate on a replacement.
The door is most likely reading an obstacle or losing its travel limit near the bottom. The three usual causes: fogged or misaligned photo-eye sensors, an obstruction or debris in the door’s path, or a travel limit that needs adjustment. Clean the sensor lenses first, then test with a 2×4 in the path. If it still reverses, stop running the door and call a technician – a door that won’t close safely is a door that shouldn’t be used. Call (866) 611-8038 for an exact quote.
In Deltona’s summer heat, springs under constant tension lose a little of their lift, and the opener has to work harder to compensate. If the door is noticeably heavier by hand in July than it was in January, the springs may be aging. A heavy door is also a warning sign that the opener is going to wear out faster. Have the springs checked before you replace an opener that doesn’t need replacing. Call (866) 611-8038 to schedule an estimate.
Repair is the right call when the door panels and frame are in decent shape and the problem is in the springs, cables, rollers, tracks, or opener. Replacement makes sense when the panels are badly damaged, rusted through, or bent at the frame, or when you’re changing the door’s size or style. Most of what we see in Deltona is repairable. If you’re not sure, the estimate tells you both options, with the reasoning, before you spend anything. Call (866) 611-8038.
No. The written estimate is the price, and it’s quoted and agreed before any work starts. The whole point of the free estimate is that you get the number up front, based on the actual diagnosis, not a guess over the phone. If the diagnosis changes on-site, we talk it through with you and re-quote before touching anything. Call (866) 611-8038 for a free estimate in Deltona.
That symptom usually points to the opener’s internal drive, not the door. A clicking opener with a door that doesn’t move is often a stripped gear or a stripped trolley carriage, and the door itself may be fine. Bring the brand and model number when you call and we’ll tell you what the likely culprit is before we come out. Call (866) 611-8038 to book a diagnostic. Our technicians work on the major brands by name, from LiftMaster to Genie, so the answer fits your unit.
The Bottom Line
The reason troubleshooting goes wrong is that homeowners chase the symptom instead of reading the system. Reverse on contact is a sensor or a reversal setting. Reversing on the way up is force or binding. A loud bang is a spring. A clicking opener with a silent door is the drive. That’s the whole language. Test in order (limits, then force, then safety reversal), clean the sensors, lubricate the moving parts, and stop at springs and cables because the risk there is much bigger than the cost of a service call. Everything else is diagnosis, and the written estimate is what turns a diagnosis into a price.
Ardent Garage Door Repair works on garage doors and openers only, across the eight major brands we cover, and the point of that focus is right here: we can tell you what’s actually wrong with the door in your driveway instead of steering you toward the part we’d rather sell. If you’re in Deltona and something in the system doesn’t sound or behave the way it did last month, the fastest path to a real answer is a phone call. Call (866) 611-8038 for a free estimate. We answer 24/7. Fast dispatch from 7am to 7pm, Sunday through Friday.
Written by the team at Ardent Garage Door Repair.